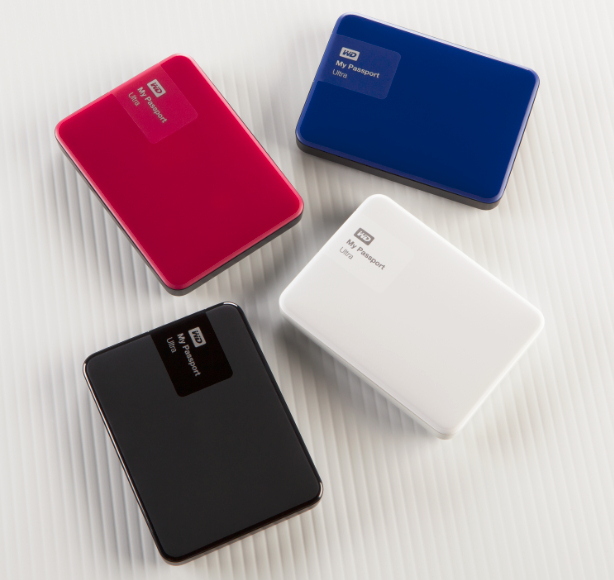
How Do I Know If My Wd Passport Is Working For Mac
My WD Passport on Mac is not working. What can I do? - Answered by a verified Mac Support Specialist. Note: If after doing this the drive does not spin up at all (you can tell by feeling for vibration on the drive), then either the drive or the power adapter has failed. You will need to replace the power adapter to proceed with the. What do i need to know be able plug in my new passport ultra and get started wi external drives for mac how partition format a wd drive on windows macos. Wdc knowledgebase answer.
Ever run out of storage space and start wondering if it would be possible to take a crowbar to your new unibody MacBook Pro to pry it open and put another hard drive in? Neither do I. Sales receipt in quickbooks for mac. However, it is frustrating that you have to sacrifice storage space because you spent the extra money to get a solid-state drive instead of the cheaper hard disk drive. So you figured, “Fine, I’ll just get an external hard drive.
I’ll store my media files on it while keeping the internal hard drive clear for apps and the OS.” While browsing the Internet for your external hard drive, you come across weird terms like NTFS, HFS+, FAT32, and exFAT. While your instinct may be to find out if it’s some weird slang acronym defined only on scandalous websites, you may fare better by reading below. NTFS If you own a Windows computer, the hard drive in your system is probably running the format, which stands for New Technology File System. While the “New” is originally referring to the year 1993, it has since been improved and updated over the years. NTFS has limits for file size and partition that are theoretically so large, you probably don’t have to worry about them in this lifetime.
It also has a lot of additional features, such as security permissions to files and folders, hard links, a change journal, and more. WD 4TB Elements Desktop USB 3.1 Gen 1 External Hard Drive While NTFS works natively with Windows, it doesn’t work quite as well with other operating systems. By default, Macs can only read NTFS and not write to them. Some versions of Linux can write to NTFS while others may not. The Sony PS3 and the PS4 do not support NTFS at all. Even Microsoft’s own Xbox 360 failed to support NTFS, but Microsoft finally included NTFS support with the Xbox One.
It is recommended to use NTFS if you’re working strictly with Windows computers. HFS+ As mentioned before, Macs can only read NTFS-formatted hard drives by default.
If you want to, you’re going to need the help of a third-party driver. However, if you’re working primarily with Mac computers, you’re probably better off using, which stands for Hierarchical File System, for native support.
Also known as Mac OS Extended or HFS Extended, HFS+ is an improvement on the HFS file system, by supporting larger files and using Unicode for naming files. HFS+ also has optional journaled features for improved data reliability.
G-Technology 4TB G-DRIVE G1 USB 3.0 Hard Drive While HFS+ formatted hard drives work great with Macs, they can’t really be used with other operating systems and devices, since it is a proprietary system from Apple. Windows computers won’t even recognize the drive if you plug it in and good luck trying to use them for other devices, such as gaming consoles. You should use HFS+ if you’re planning on using only Mac computers.
APFS If you have a Mac running macOS High Sierra or later, you may consider converting your or to Apple File System (APFS). Optimized for all-flash storage, APFS features strong encryption, space sharing, fast directory sizing, and improved file system fundamentals. Please note that APFS can only be read by Macs running macOS High Sierra or later. If you intend to use your external drive to move files between Macs running different OS versions, it is recommended that you format your drive in HFS+ instead. Seagate 4TB Backup Plus Portable Hard Drive In FAT32, a single file can only be as big as 4GB, which is very restricting considering the typical uncompressed Blu-ray movie can be anywhere from 20 to 40GB (and even more for an uncompressed UHD Blu-ray movie). FAT32 is mostly used for moving files to older systems, as well as other devices, such as the Sony PS3, Microsoft Xbox 360, and more.
ExFAT While it may sound like a weight-loss product from a late-night infomercial, is a hard drive format that feels like the child of NTFS and FAT32. ExFAT takes everything that’s good about FAT32, such as compatibility and ease of use, and leaves out everything that was bad about it, like the 4GB file size limit. Instead, it has very large file and partition size limits, like NTFS, but none of its extra features to maintain its svelte file system. WD 3TB My Passport Wireless Pro USB 3.0 External Hard Drive exFAT is a good option if you work often with Windows and Mac computers. Transferring files between the two operating systems is less of a hassle, since you don’t have to constantly back up and reformat each time.
Linux is also supported, but you will need to install appropriate software to take full advantage of it. Unfortunately, exFAT didn’t inherit all of FAT32’s legacy in compatibility because it may not work with older devices, such as the PS3 and Xbox 360.

It does work on the current-gen of gaming consoles, such as the PS4 and the Xbox One. Reformat While it’s convenient to purchase the hard drive that will work with your computer right out of the box, most external hard drives can also be reformatted so you’re not limited to your initial choice. Please see below on how to reformat your external hard drive on Mac and Windows. DISCLAIMER: Please keep in mind that reformatting will result in the loss of all the data on the hard drive so make sure you back up your data elsewhere before starting. How to Reformat in Mac Step 1: Make sure your external hard drive is attached and mounted to your Mac. Step 2: If you have already written any data to the drive, back it up before proceeding to the next step. Step 3: In the Finder, choose Go, then choose Utilities.
The /Applications/Utilities folder will open. (Alternatively, you can search in Spotlight for Disk Utility and click on it.) Step 4: Launch Disk Utility.
Step 5: Click the icon for your external hard drive in the sidebar on the left. Step 6: Click the Erase tab along the top of the window. Step 7: From the Volume Format menu, choose Mac OS Extended. Step 8: Enter a name for the external hard drive in the Name field. Step 9: Click the Erase button. How to Reformat in Windows Step 1: Plug your external hard drive into your computer. Step 2: If you have already written any data to the drive, back it up before proceeding to the next step.
Step 3: Open Windows Explorer, click the “Computer” section in the sidebar and find your drive. Step 4: Right-click on the drive and choose “Format.” Step 5: Under “File System,” choose the file system you want to use. Step 6: Check the “Quick Format” box. Step 7: Name your hard drive under “Volume Label.” Step 8: Click “Start” to format the drive. Step 9: After you’re done, don’t forget to remove the external hard drive safely before unplugging. Which hard drive format do you use?
Do you use one that’s not listed above? Let us know in the comments below! Don’t forget to check out all of the hard drives and storage solutions available at B&H. For more information. Samsung galaxy note 4 sync for mac. Share a photo of your current hard drive + tag for a chance to win a new Hard Drive Prize Pack!